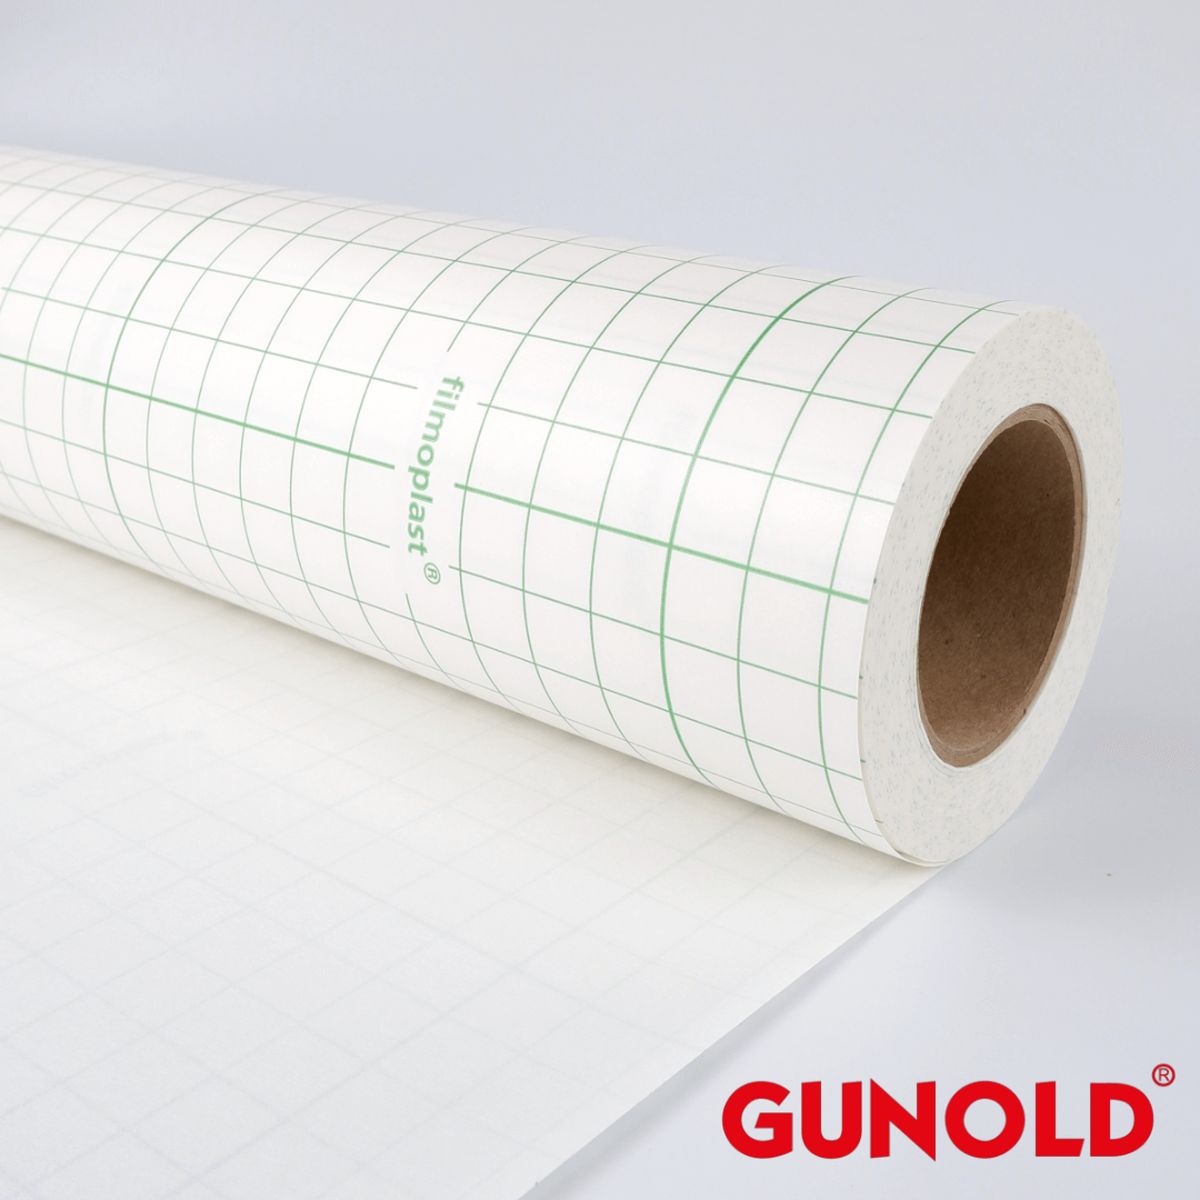
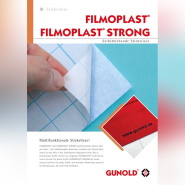
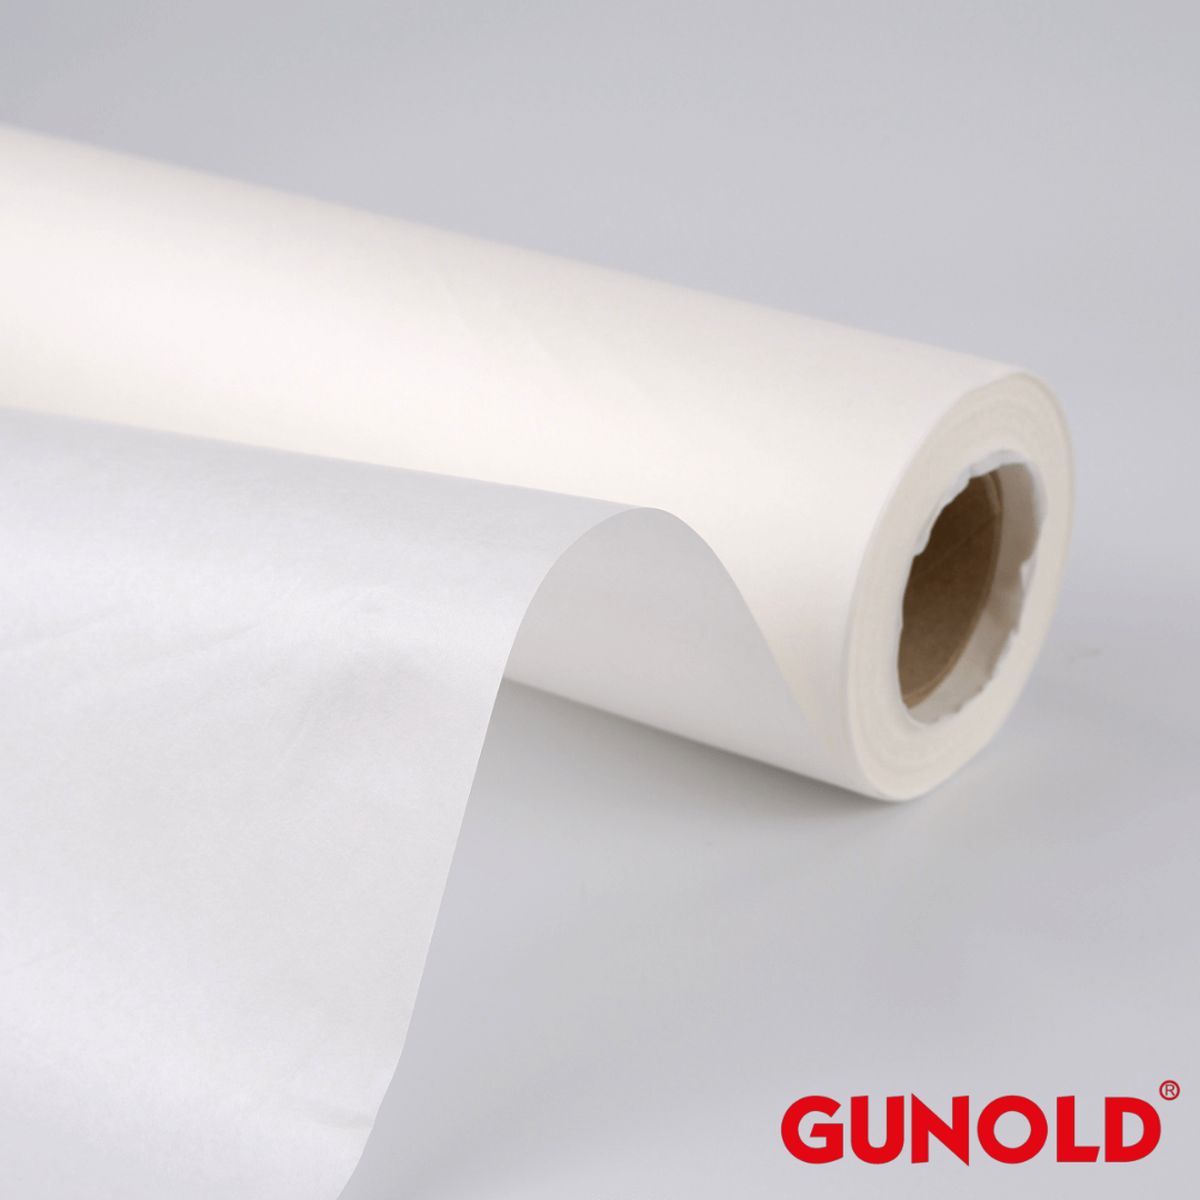
FILMOPLAST STRONG, white, 25cm x 25m
Product information "FILMOPLAST STRONG, white, 25cm x 25m"
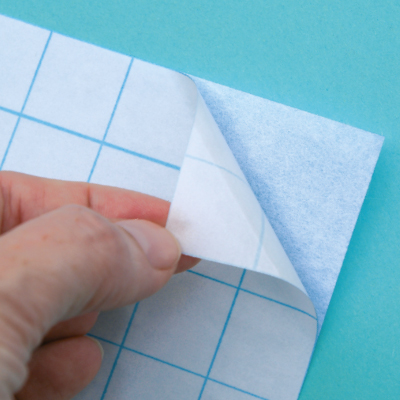
Self-adhesive embroidery stabilizer for medium to heavy fabrics
Recommended embroidery technique: “Embroidery without hooping the fabric”
FILMOPLAST® STRONG is economical in use: after embroidery, the hole in the hooped stabilizer can be covered with leftover pieces. Tip: if the stabilizer feels too heavy, use FILMOPLAST® (the lighter self-adhesive stabilizer) to close the holes. Since the fabric does not need to be re-hooped after each embroidery, setup and downtime are reduced, significantly increasing productivity.
Certificate of Quality - Color Black | Certificate of Quality - Colour White
- Medium-weight jersey fabrics (T-shirts, polo shirts)
- Medium-weight blouse and shirting fabrics with elastane
- Small parts (cut pieces of cuffs, collars, breast pockets)
- Flat stabilization of caps – panel front, back, and strap
- Embroidery of cut pieces in border frames (front and back parts, etc.)
The heavy self-adhesive embroidery stabilizer, 95 g/m², is a polyacrylate-coated tear-away stabilizer – tears lengthwise, crosswise, and diagonally.
Available in white.
Recommended embroidery technique: “Embroidery without hooping the fabric”
FILMOPLAST® STRONG is a self-adhesive embroidery stabilizer for cold fixation. With this stabilizer, only the stabilizer itself is hooped, while the fabric is simply placed on top. This prevents hoop marks on delicate fabrics. As an adhesive stabilizer, it supports both woven and knitted fabrics and improves embroidery quality. Especially small pieces that cannot be hooped, such as cuffs, collars, or pockets, can be embroidered easily. Caps can also be embroidered in a standard embroidery hoop – without a cap frame.
FILMOPLAST® STRONG is economical in use: after embroidery, the hole in the hooped stabilizer can be covered with leftover pieces. Tip: if the stabilizer feels too heavy, use FILMOPLAST® (the lighter self-adhesive stabilizer) to close the holes. Since the fabric does not need to be re-hooped after each embroidery, setup and downtime are reduced, significantly increasing productivity.
Main applications:
- For cold fixation of fabrics before embroidery
- For stabilizing stretch fabrics such as T-shirts, polos, fabrics with elastane content, etc.
- For sharp outlines and lettering, even on stretch fabrics
- For stabilizing delicate fabrics prone to hoop marks, e.g. velvet, fleece, dark fabrics
- For difficult-to-hoop embroidery placements such as trouser and shirt pockets, collars, cuffs, ribbons, etc.
- Caps can be embroidered without a cap frame – simply stick the cap onto FILMOPLAST® STRONG and embroider.
Brilliant advantages:
- Embroidery without hoop marks on delicate fabrics
- Perfect embroidery on small cut pieces and hard-to-hoop textiles without hooping
- Embroidery on stretch and elastic fabrics without distortion
- Embroidery on caps without a cap frame
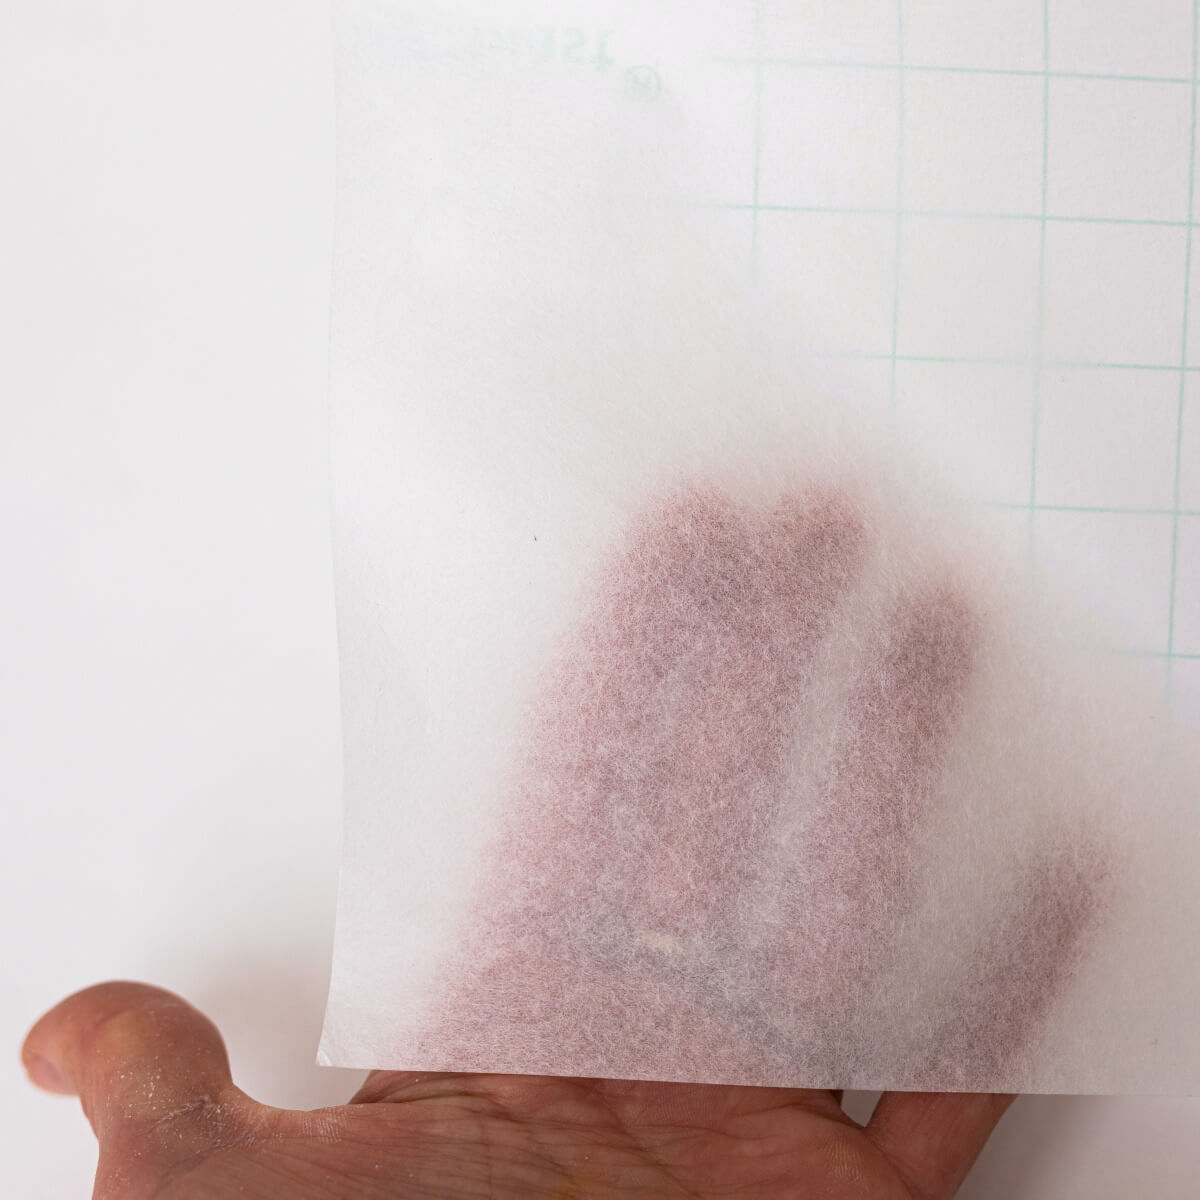
Material Composition: One-sided adhesive special nonwoven
75% Cellulose, 25% Polyester
Coating: 100% Polyacrylate
Cover: Silicone paper
Öko-Tex certified:

Download Area:
Downloads
FILMOPLAST® STRONG - Self-adhesive nonwoven
Note:
Embroidery with FILMOPLAST® and FILMOPLAST® STRONG is very economical. For each embroidery, you only need to calculate the consumption of the small remnant piece that you need to close the hole.
Embroidery with FILMOPLAST® and FILMOPLAST® STRONG is very economical. For each embroidery, you only need to calculate the consumption of the small remnant piece that you need to close the hole.
1. Hoop FILMOPLAST®/FILMOPLAST® STRONG with the
protective paper facing up.
To facilitate the positioning of the work piece, mark the respective areas: let the embroidery needle penetrate the fleece at four different points. Connect the four points using a ruler and pen to create a crosshair.
To facilitate the positioning of the work piece, mark the respective areas: let the embroidery needle penetrate the fleece at four different points. Connect the four points using a ruler and pen to create a crosshair.
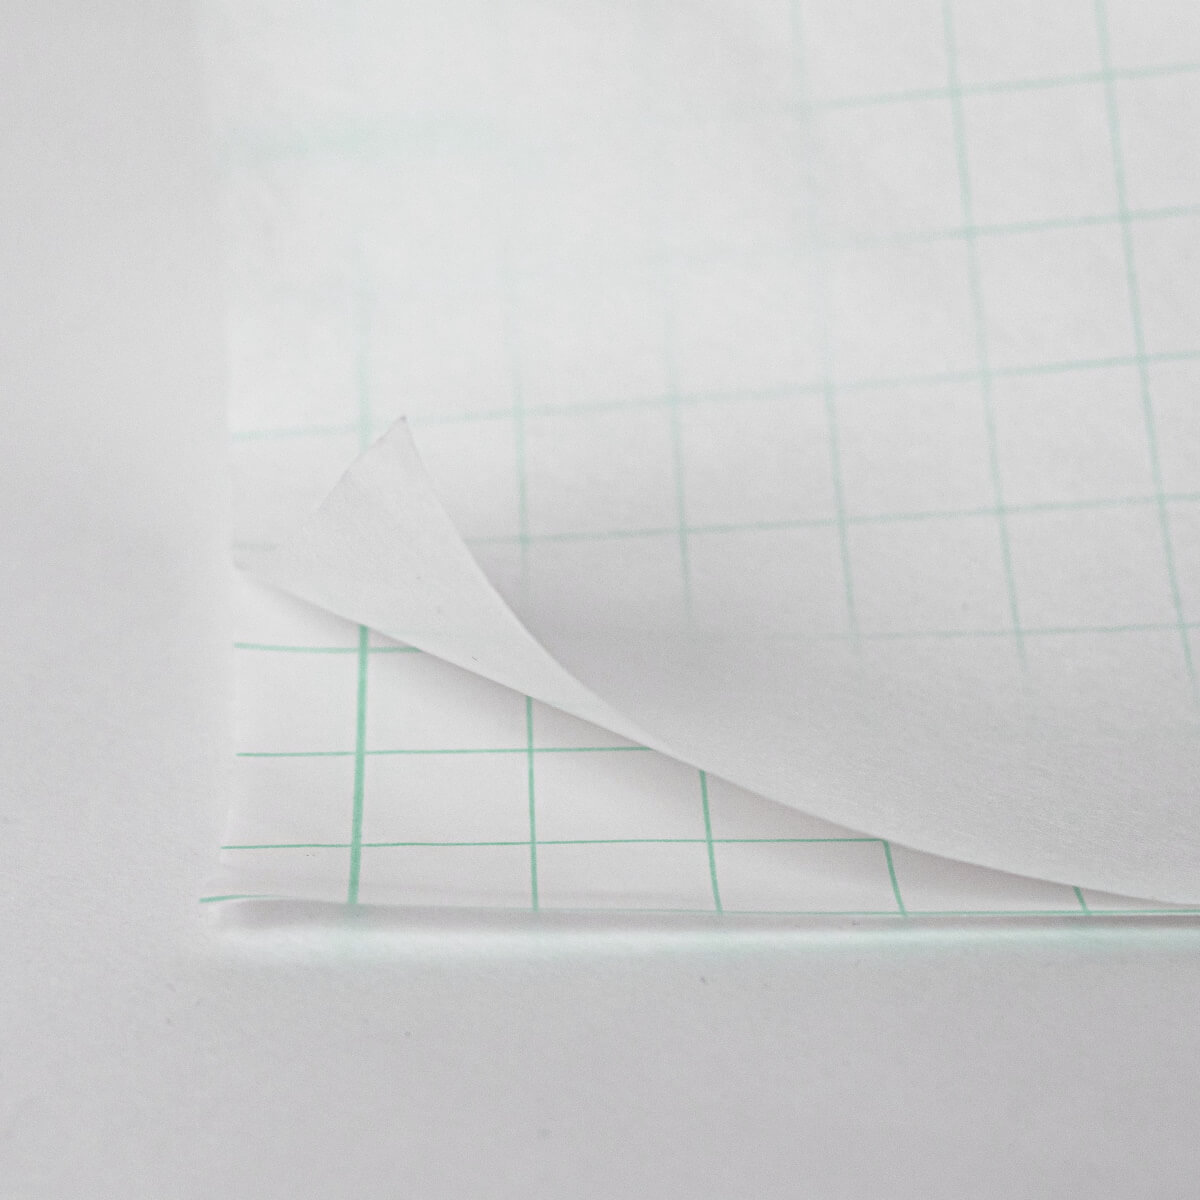
2. Using scissors or a needle, slightly slit open the
protective paper and peel off the paper so the adhesive
side is uncovered.
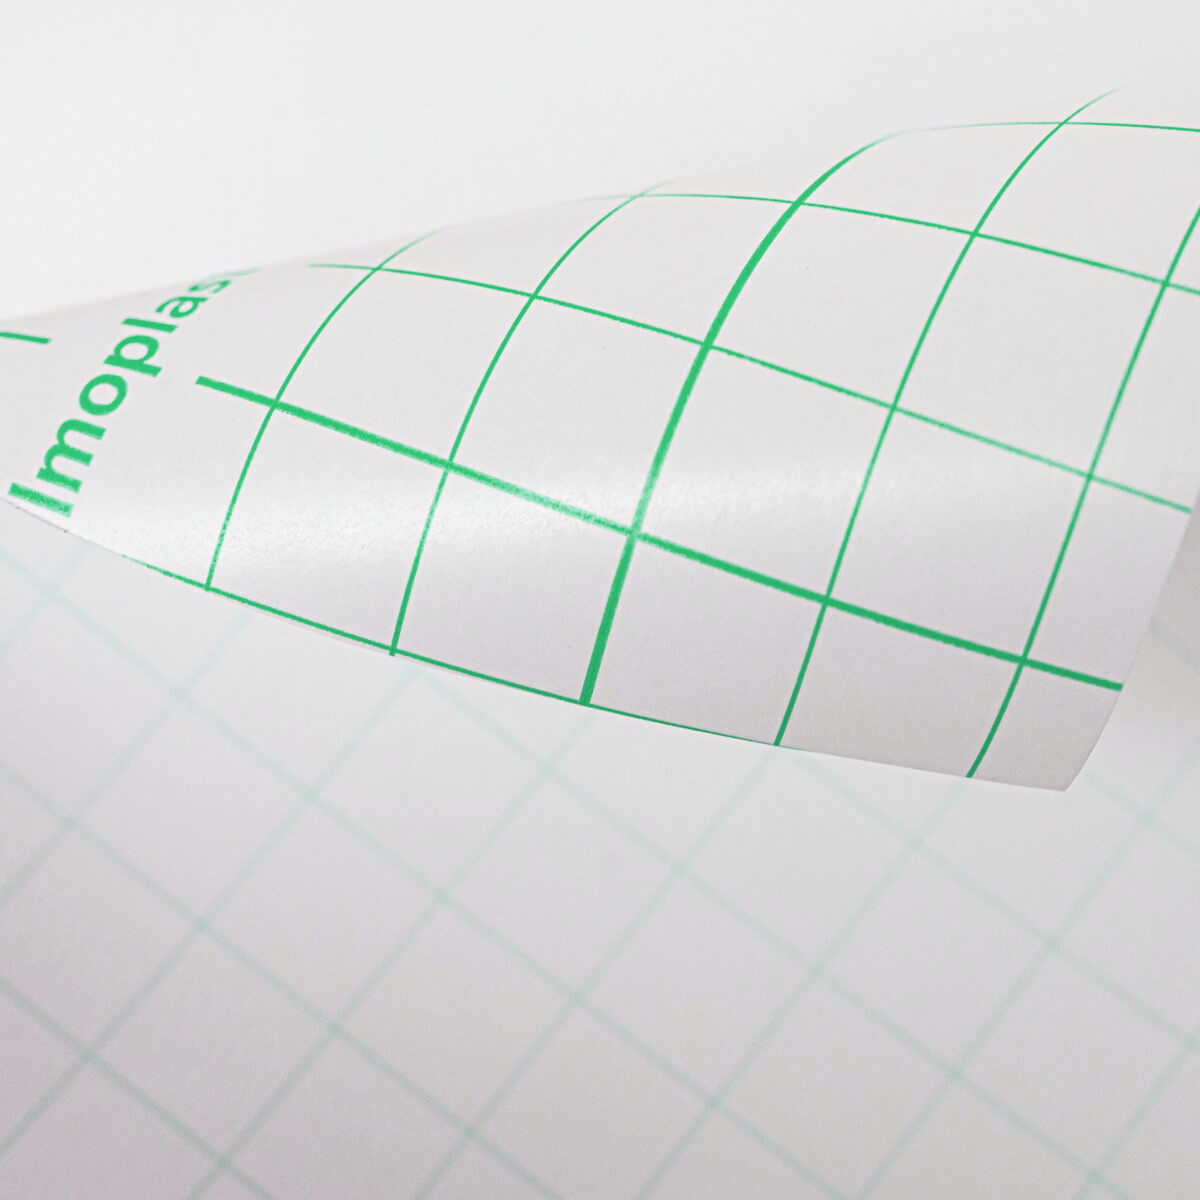
The crosshair marking on the protective paper presses through onto the nonwoven. If necessary, redraw it on the nonwoven to make it more visible.
The crosshair marking on the protective paper presses through onto the nonwoven. If necessary, redraw it on the nonwoven to make it more visible.
3. Place the fabric on the nonwoven’s adhesive
side.
Select fixed points on the fabric to determine the right position at the crosshair, e.g.
· for polo shirt embroideries: the button facing
· for shirt collar embroideries: the collar edge
Place the fabric on top, position it and firmly press it down.
Embroider the design.
Select fixed points on the fabric to determine the right position at the crosshair, e.g.
· for polo shirt embroideries: the button facing
· for shirt collar embroideries: the collar edge
Place the fabric on top, position it and firmly press it down.
Embroider the design.
4. Carefully peel off the embroidered fabric from the
adhesive film. The hoop remains in the machine.
Tip: To facilitate the removal of the work piece from the hoop, the hoop can be moved forwards.
Tip: To facilitate the removal of the work piece from the hoop, the hoop can be moved forwards.
5. Cover the hole left in the nonwoven with a matching
remnant piece of FILMOPLAST® or FILMOPLAST® STRONG.
Tip: The remnant piece should be slightly larger than the hole to be covered. Make sure to attach the remnant piece from the top so it will not stick to the stich plate during the following embroidery process. Peel off the protective paper only after the remnant piece has firmly been attached to the hole to be covered.
Tip: The remnant piece should be slightly larger than the hole to be covered. Make sure to attach the remnant piece from the top so it will not stick to the stich plate during the following embroidery process. Peel off the protective paper only after the remnant piece has firmly been attached to the hole to be covered.
6. Place the next fabric piece to be embroidered on the reference points,
position the hoop at the starting point and embroider the design.
7. Embroidery processes can be repeated this way various times after
hooping FILMOPLAST® or FILMOPLAST® STRONG only once.
Tip!
The remnant pieces pile up while holes are being covered and will guide the embroidery needle during the following embroidery process like stitching on a stencil.
The remnant pieces pile up while holes are being covered and will guide the embroidery needle during the following embroidery process like stitching on a stencil.
The result are needle-sharp design
outlines.
Storage:
For acclimatization purposes FILMOPLAST® should be kept in the same room where it’s being processed for at least 3 hours prior to its application.
Herstellerangaben gemäß GPSR-Anforderungen (General Product Safety Regulation)
Gunold GmbH
Obernburger Str. 125 | 63811 Stockstadt | Germany
E-Mail: service@gunold.de

